Introduction
Did you ever ask Device Diagnostics logs from a device to be collected to Intune and then forgot which device it was?
Did you ever want to troubleshoot errors for scripts and configuration profiles but had no logs and wondered which devices already have uploaded logs?
If you have a weekly meeting to check Intune statuses you can schedule a report with Device Diagnostics available right before the meeting so you can get logs quickly
Solution Overview
This article will explain how to build an Azure Automation account and use it to generate a report sent by email with devices that have diagnostics available to be downloaded from Intune.
Create the Automation Account
- 1 Go to Azure Automation Accounts.
- 2 Click on Create and create a new account.
- 3 Go to your Automation Account
- 4 Select Overview and then select Try Runtime environment experience.
- 5 Click on Create a Runtime environment
- 6 Enter a name, Choose PowerShell in the Language, and 7.2 in the Runtime version, give it a Description if you'd like:
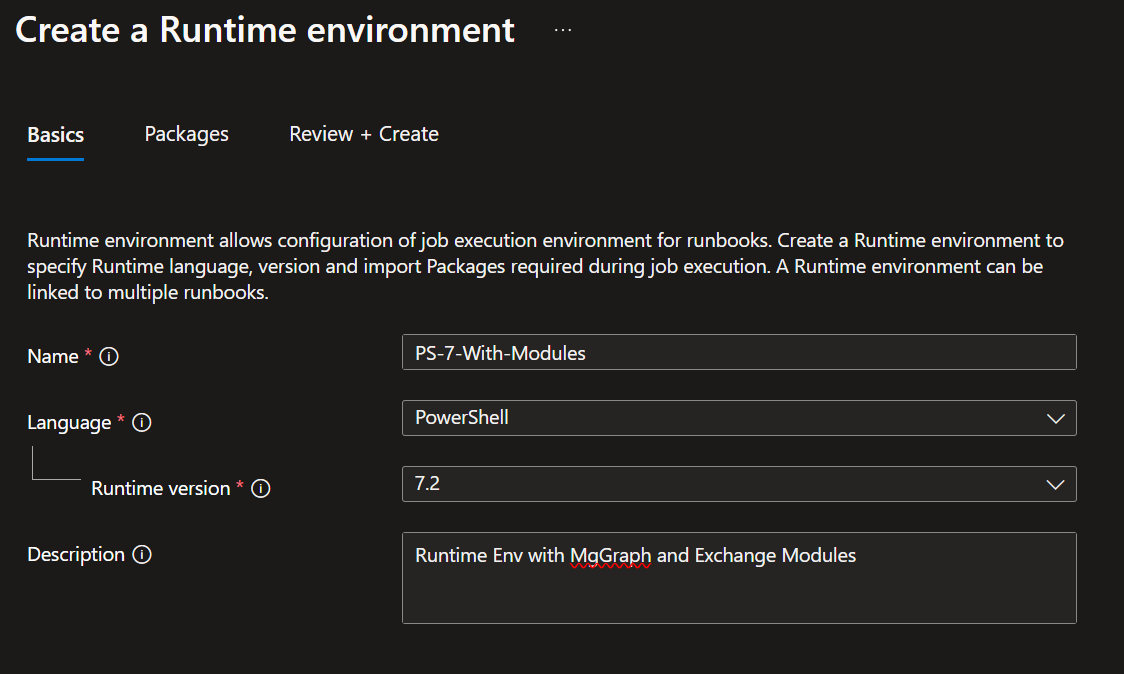
Creating Runtime Environment
Add Modules to the Runtime Environment
Click on Next, and then Add from gallery
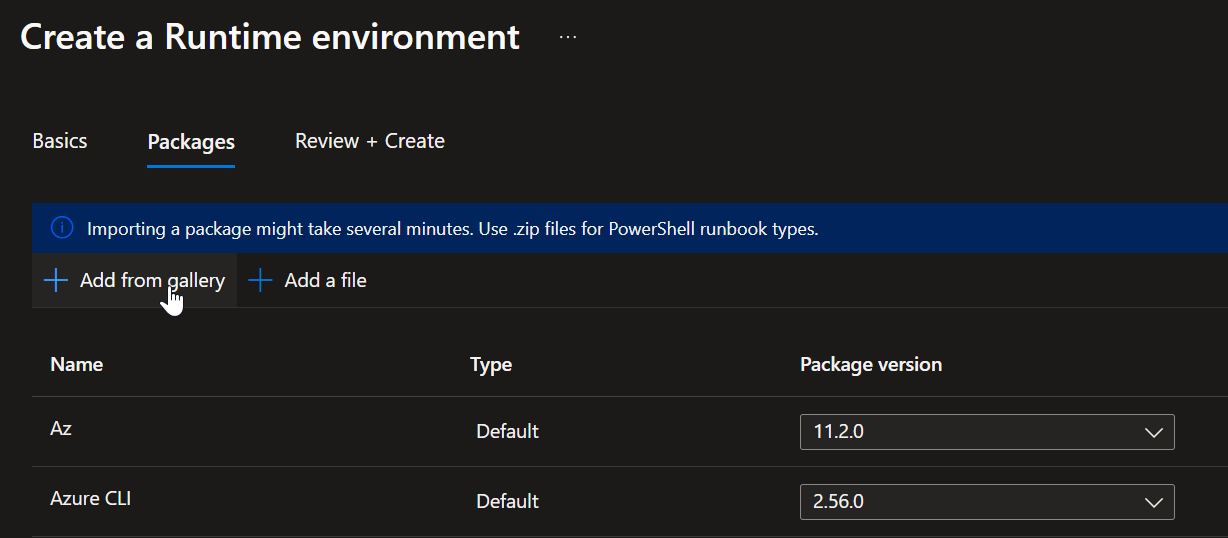
Add from Gallery
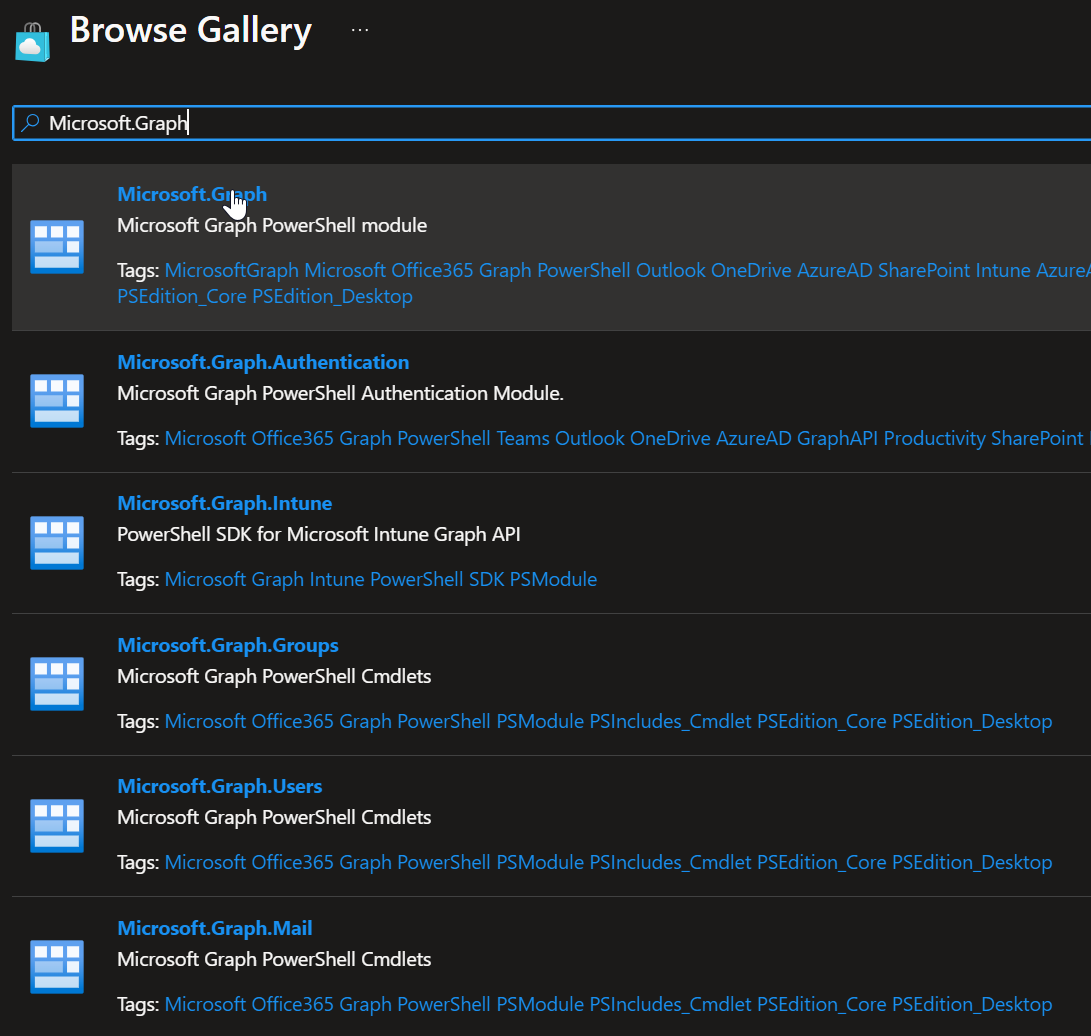
Microsoft Graph Module
Required Modules to Add

Exchange Module
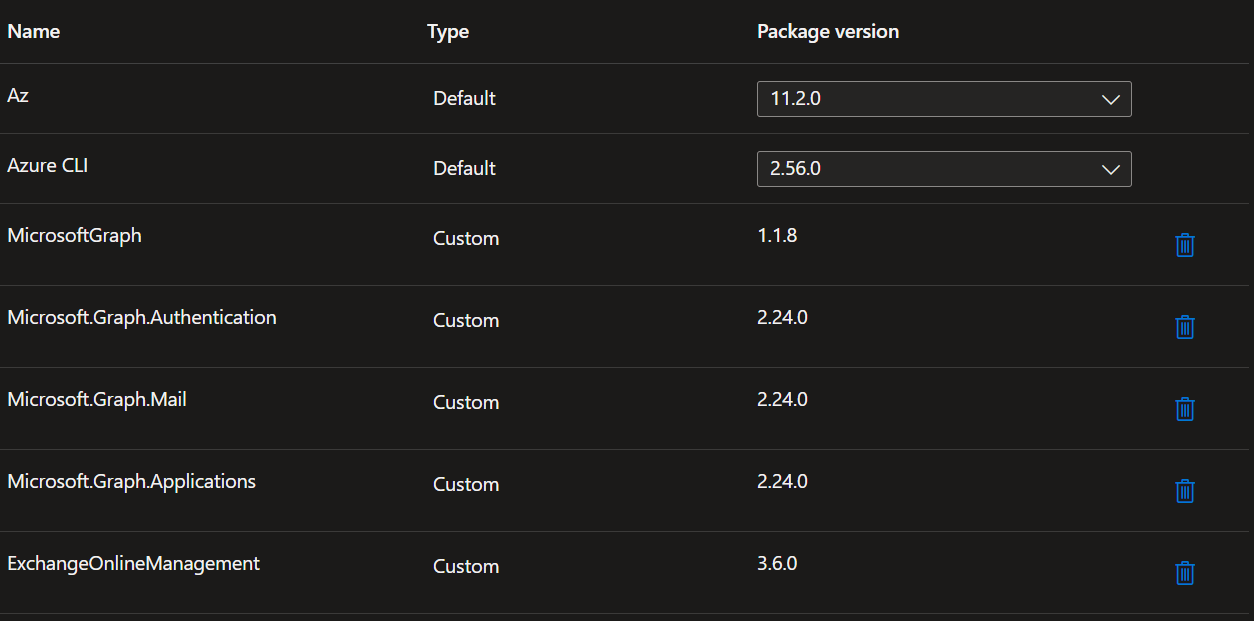
All Required Modules
Repeat until you have all the required modules added, then click Next, and Create.
Enable Managed Identity and Assign Permissions
Enable System Assigned Managed Identity
On the Automation Account page, Click on Account Settings on the side bar, then click on Identity
Enable the System Assigned Managed Identity - switch to On and copy the Object ID:
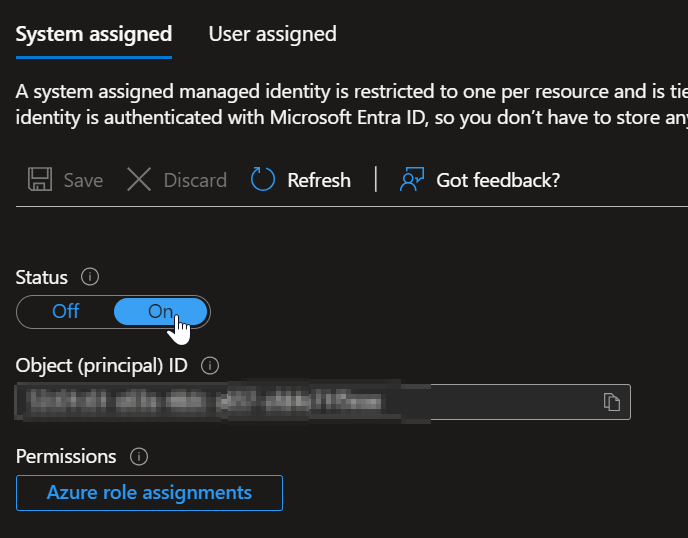
Enable Managed Identity
Important Notes for PowerShell Script
- Make sure you fill in your tenant ID and the name of the Enterprise Application that is created when you enabled the System assigned Managed-Identity. You can find it by taking the Object (principal) ID shown under the Identity section of the Automation account and searching it on Entra ID. But it would be the same name of the Automation Account in most cases.
-
The Microsoft Graph App ID (
$graphAppIdin the script) is the same for all tenants, keep it as is. - The script assigns the required permissions from Microsoft Graph on our Automation Account managed-identity. View permissions documentation
$tenantID = "123456-1234-5678-1234-12345678"
$graphAppId = "00000003-0000-0000-c000-000000000000"
$permissions = @("Device.Read.All", "DeviceManagementManagedDevices.Read.All", "DeviceManagementConfiguration.Read.All")
$managedIdentities = @("EnterpriseApplicationName")
Connect-MgGraph -TenantId $tenantID -Scopes "AppRoleAssignment.ReadWrite.All", "Directory.Read.All"
$sp = Get-MgServicePrincipal -Filter "appId eq '$graphAppId'"
$managedIdentities | ForEach-Object {
    $msi = Get-MgServicePrincipal -Filter "displayName eq '$_'"
    $appRoles = $sp.AppRoles | Where-Object {($_.Value -in $permissions) -and ($_.AllowedMemberTypes -contains "Application")}
    $appRoles | ForEach-Object {
        $appRoleAssignment = @{
            "PrincipalId" = $msi.Id
            "ResourceId" = $sp.Id
            "AppRoleId" = $_.Id
        }
        New-MgServicePrincipalAppRoleAssignment -ServicePrincipalId $appRoleAssignment.PrincipalId -BodyParameter $appRoleAssignment -Verbose
    }
}
Disconnect-MgGraph
Exchange Online Email Permissions (Optional)
If you wish to send the email using Exchange Online you can grant permissions for your Managed-Identity with this:
Connect-MgGraph -Scopes AppRoleAssignment.ReadWrite.All,Application.Read.All

$AppRoleID = "dc50a0fb-09a3-484d-be87-e023b12c6440"

$ResourceID = (Get-MgServicePrincipal -Filter "AppId eq '00000002-0000-0ff1-ce00-000000000000'").Id

$managedIdentities = @("EnterpriseApplicationName")

$msi = Get-MgServicePrincipal -Filter "displayName eq $managedIdentities"

New-MgServicePrincipalAppRoleAssignment -ServicePrincipalId $msi.Id -PrincipalId $msi.Id -AppRoleId $AppRoleID -ResourceId $ResourceID
I recommend using a SMTP service (Azure Email Communication Service) to send the email as it requires less permissions.
Deploy the Code
- 1 Go to your Azure Automation Account
- 2 Click on Process Automation, Click on Runbooks and then on Create a runbook.
- 3 Type a name, select PowerShell as the runbook type, and select the runtime environment you created earlier.
- 4 Click on Review + Create
- 5 Click on Edit and paste the code from GitHub here
- 6 Make sure to follow the instructions on what to edit in the code
Saving the Runbook
- 1 Click on Save.
- 2 Click on Test pane, then on Start, and ensure your code runs without errors.
- 3 Go back to your code and click on Publish.
Add a Schedule
- 1 Click on Runbooks and then on the runbook you created.
- 2 Click on Link to schedule.
- 3 Click on Link a schedule to your runbook.
- 4 Click on Add a schedule, fill up the details, and click on Create.
Conclusion
With these steps, you'll have a streamlined way to track and manage device diagnostics in Intune, making troubleshooting and reporting more efficient. Happy automating!