Overview
This article will explain how to build an automation account to monitor your Azure App Certificates and secrets and to notify you before expiration.
Create the Automation Account
- 1 Go to Azure Automation Accounts.
- 2 Click on Create and create a new account.
- 3 Go to your Automation Account
- 4 Select Overview and then select Try Runtime environment experience.
- 5 Click on Create a Runtime environment
- 6 Enter a name, Choose Powershell in the Language, and 7.2 in the Runtime version, give it a Description if you'd like:
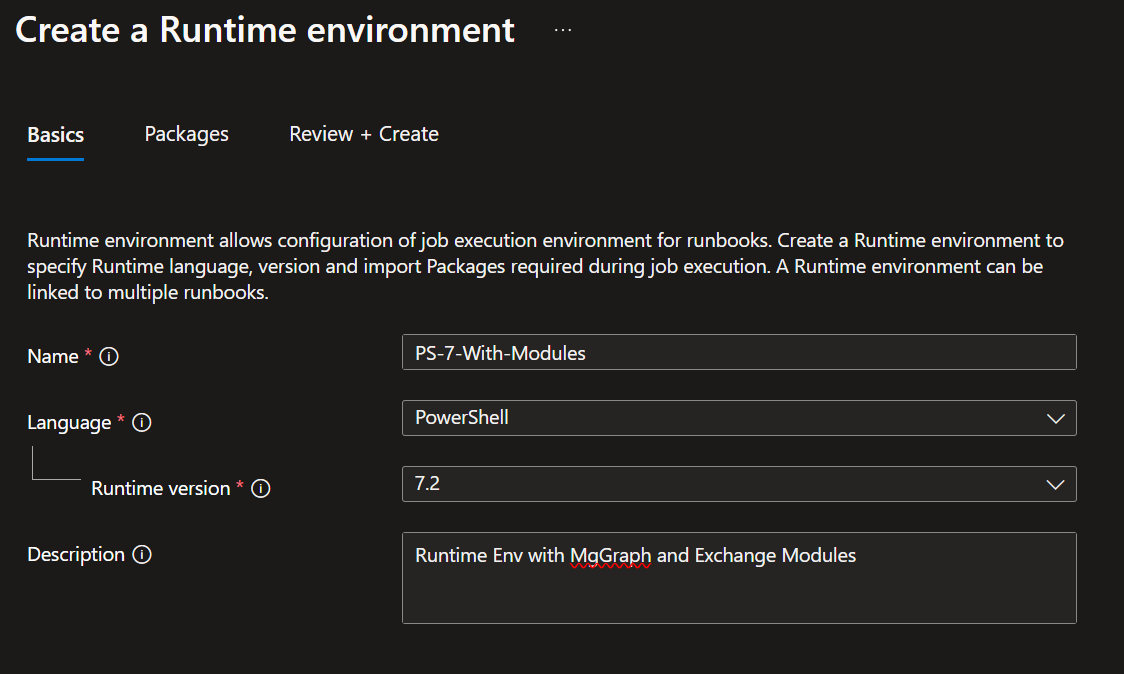
Creating a runtime environment for the automation account
Add Modules to the Runtime Environment
Click on Next, and then Add from gallery:
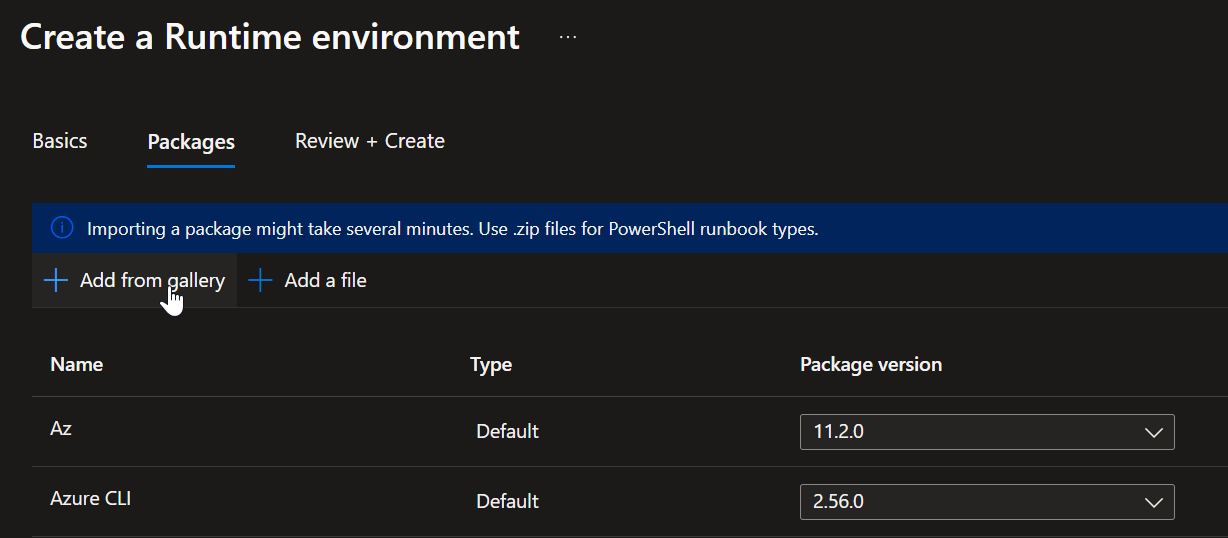
Adding modules from the gallery
Search for "Microsoft.Graph" and add it:
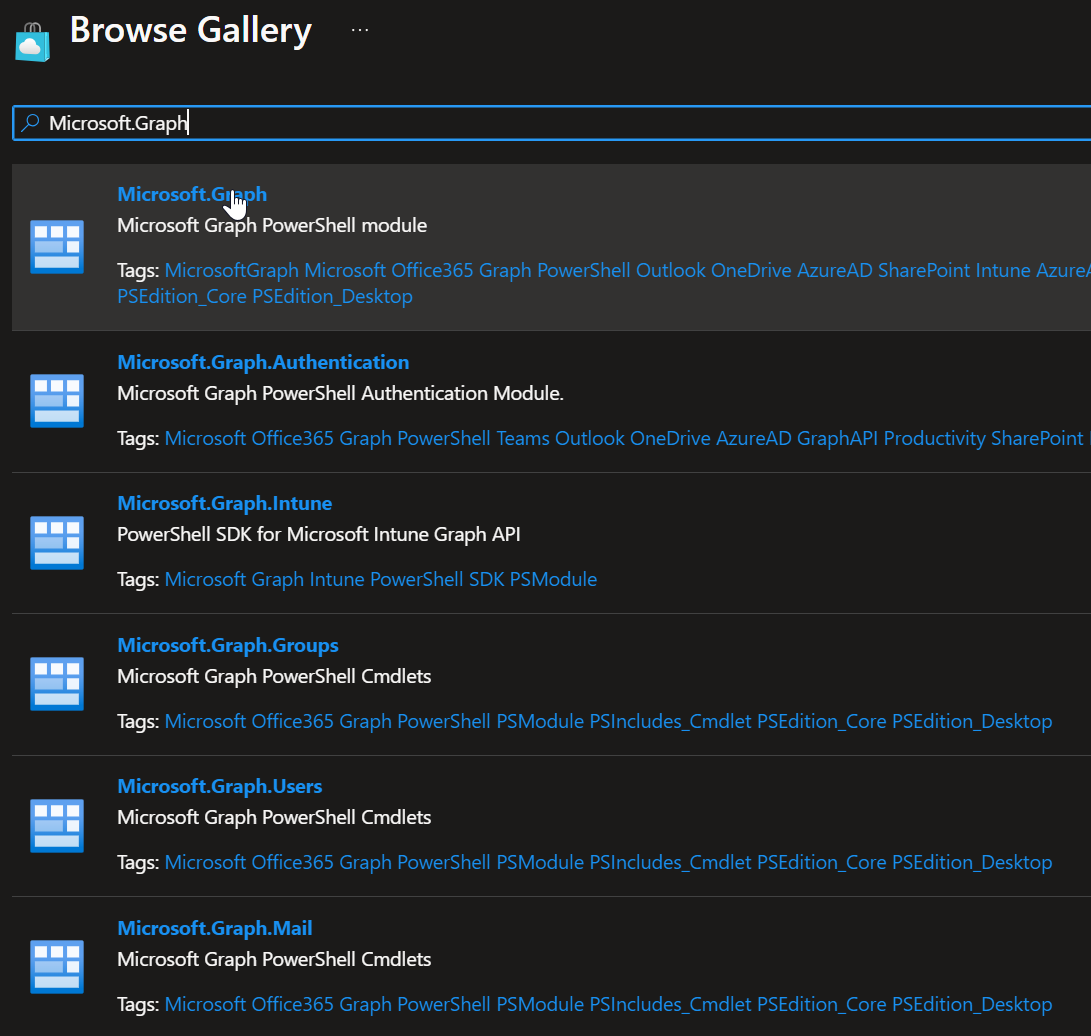
Adding Microsoft Graph module
Click on Add from gallery again, search for Exchange and add the module:

Adding Exchange module
Repeat until you have the following modules added:
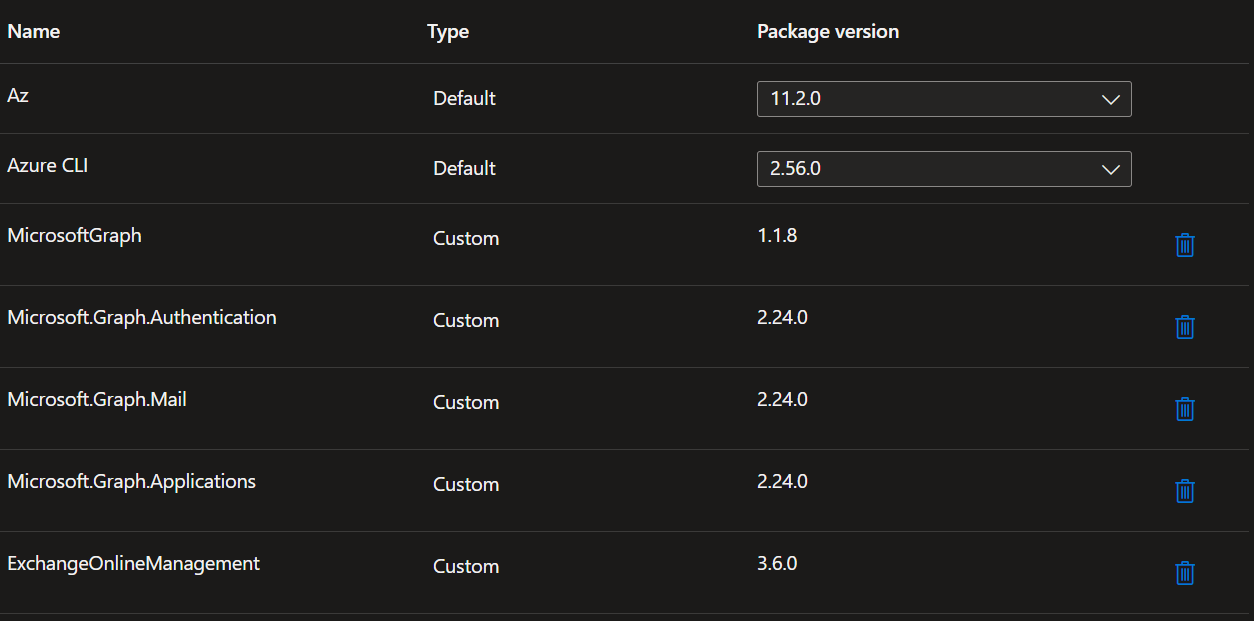
All required modules for the automation
Then click Next, and Create.
Enable Managed Identity for the Automation Account and assign permissions
On the Automation Account page, Click on Account Settings on the side bar, then click on Identity
Enable the System Assigned Managed Identity - switch to On and copy the Object ID:
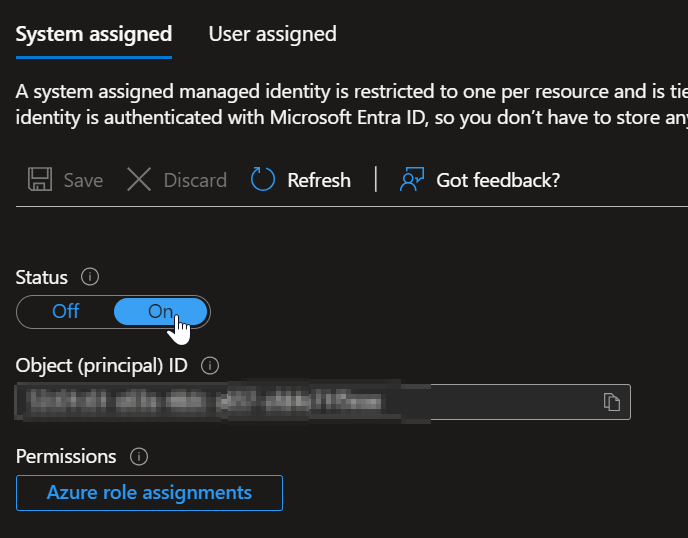
Enabling system assigned managed identity
Go to Entra ID, click on Roles and administrators, Click on Application Administrator, Click on Add assignments -> click on selected members and paste the Object ID
Once done it should look like this:
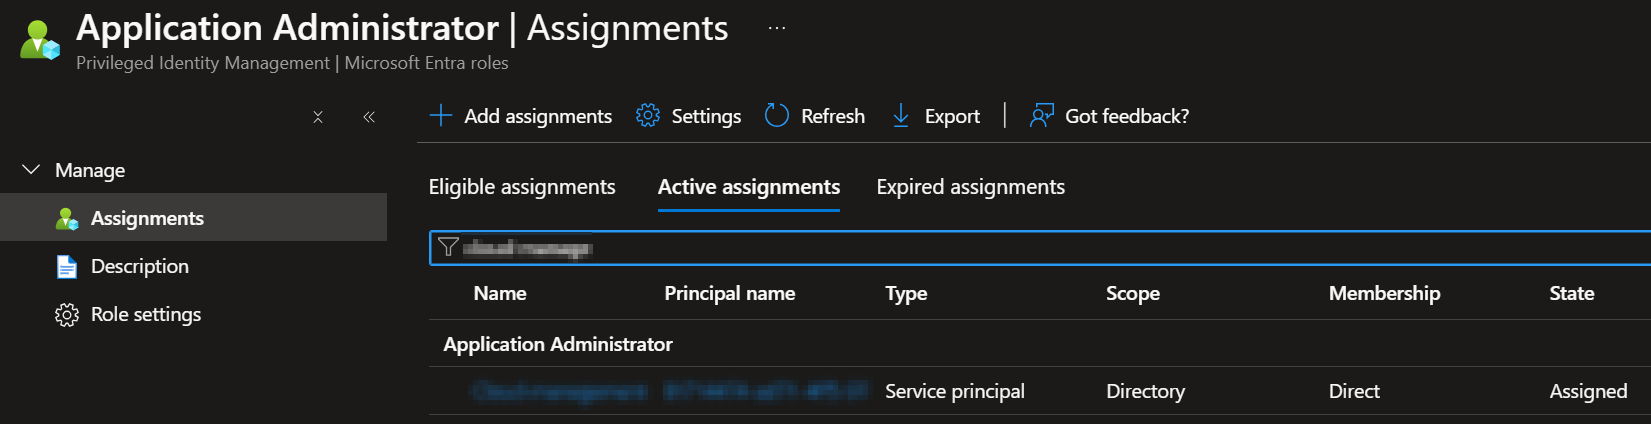
Application Administrator role assignment
Assign Permissions on Azure Email communication service:
- 1 Under your Azure Communication service Click on Access Control (IAM)
- 2 Click on Add -> Add role assignment -> Click on the "Privileged administrator roles" -> choose the Contributor role and click Next:
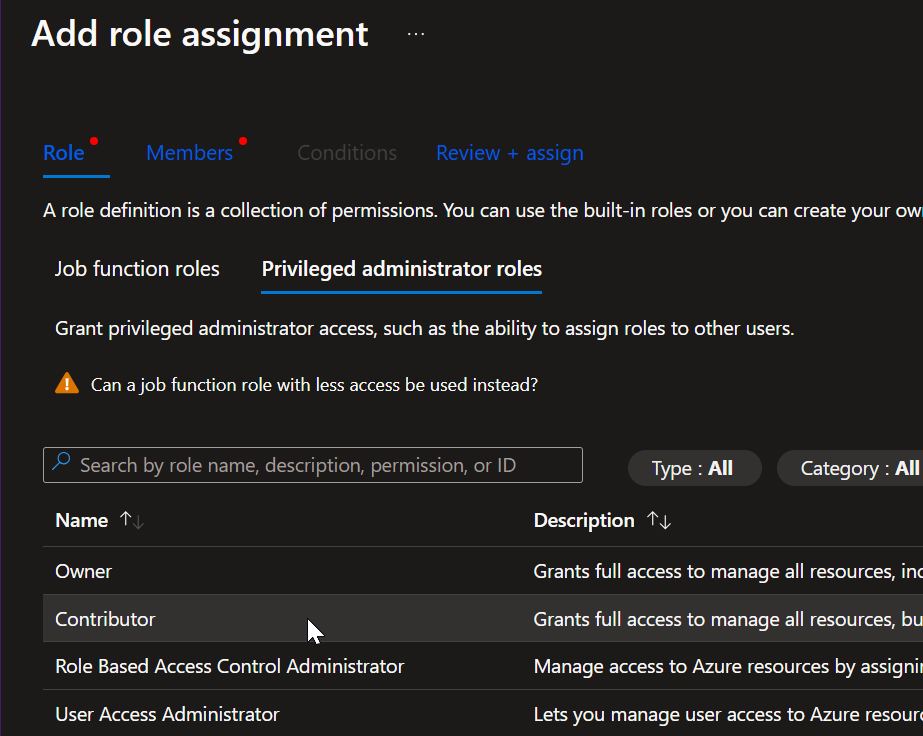
Adding contributor role to the managed identity
- 3 Under "Assign access to" choose the "Managed Identity" radio button and click on Select members, choose your Automation runbook from the drop down list
- 4 Click on Select, and then Review + assign to save the assignment
Deploy the Code
- 1 Go to your Azure Automation Account
- 2 Click on Process Automation, Click on Runbooks and then on Create a runbook.
- 3 Type a name, select PowerShell as the runbook type, and select the runtime environment you created earlier.
- 4 Click on Review + Create
- 5 Click on Edit and paste the code from GitHub here
- 6 Make sure to follow the instructions on what to edit in the code
Saving the Runbook
- 1 Click on Save.
- 2 Click on Test pane, then on Start, and ensure your code runs without errors.
- 3 Go back to your code and click on Publish.
Add a Schedule
- 1 Click on Runbooks and then on the runbook you created.
- 2 Click on Link to schedule.
- 3 Click on Link a schedule to your runbook.
- 4 Click on Add a schedule, fill up the details, and click on Create.
Limit the Application
- 1 Create a Mail-Enabled security group.
- 2 In this group, add the members which the app should send email to.
- 3 From PowerShell, connect to Exchange Online.
- 4 Run the following command:
New-ApplicationAccessPolicy -AppId <ClientID> -PolicyScopeGroupId <MailEnabledSecurityGroup> -AccessRight RestrictAccess -Description "Limit my app application emails sending"Following these steps will help you effectively monitor your Azure App Certificates and receive notifications before they expire.